
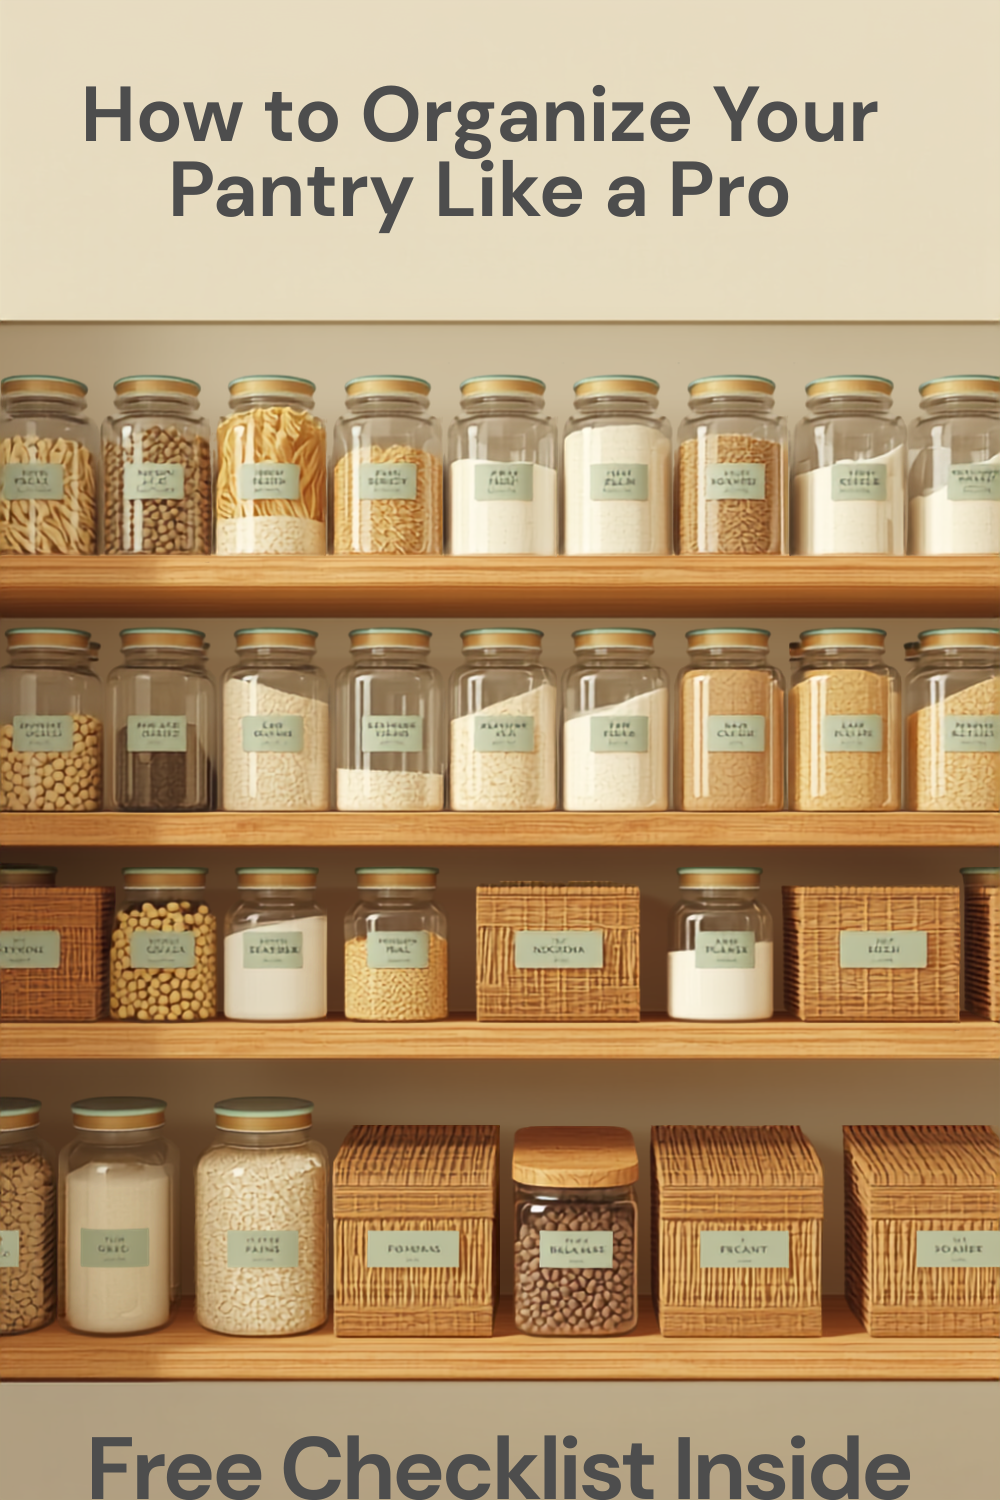
How to Organize Your Pantry Like a Pro (Free Checklist)
A well-organized pantry does more than look good — it saves you money by preventing duplicate purchases, cuts down on food waste, and makes meal planning genuinely faster. If your pantry currently feels more like a game of Tetris than a functional storage system, this step-by-step guide will help you reset it from the ground up.
Step 1: Empty Everything Out
Before you can organize, you need a clean slate. Pull every item out of your pantry and sort it into three piles: keep, toss (expired or stale), and donate (unopened items you know you won't use). This step alone often frees up more space than people expect.
Step 2: Wipe Down Shelves
While your pantry is empty, wipe down shelves and liners. It's a small step, but it makes the next stages far more pleasant and gives you a genuinely fresh start.
Step 3: Create Zones
Rather than placing items back randomly, group them into logical zones:
- Baking: flour, sugar, baking powder, cocoa
- Breakfast: cereal, oats, granola bars
- Canned goods: beans, tomatoes, soups
- Snacks: chips, crackers, nuts
- Grains & pasta: rice, pasta, quinoa
- Spices & oils: stored together for easy access while cooking
Zoning your pantry means you (and everyone else in your household) always know exactly where something belongs.
Step 4: Decant into Containers
Transferring dry goods like flour, rice, pasta, and cereal into clear, uniform containers does two things: it keeps food fresher for longer, and it makes your pantry look and function far better than a shelf of mismatched bags and boxes. Clear containers also make it immediately obvious when you're running low on something.
Step 5: Use Risers and Turntables for Visibility
Shelf risers let you see everything on a shelf at once instead of digging behind front-row items. Turntables (lazy susans) work especially well for oils, sauces, and spice jars, letting you spin instead of reach.
Step 6: Label Everything
Labels aren't just for aesthetics — they help everyone in the household put things back where they belong, and they're especially useful once you've decanted items into matching containers where the packaging no longer shows what's inside.
Step 7: Maintain It Weekly
The final (and most often skipped) step is maintenance. Spend five minutes each week doing a quick pantry check: wipe up spills, straighten containers, and note what needs restocking before your next grocery trip.
Free Pantry Organization Checklist
Use this quick checklist to guide your next pantry reset:
- Remove all items and sort into keep/toss/donate
- Wipe down shelves and liners
- Group items into logical zones
- Decant dry goods into clear, airtight containers
- Add risers or turntables where helpful
- Label containers and shelves
- Schedule a 5-minute weekly maintenance check
A Pantry That Works for You
An organized pantry isn't about perfection — it's about creating a system that's easy to maintain so it doesn't slide back into clutter after a few weeks. Once your zones and containers are in place, keeping it tidy becomes second nature.
Ready to get organized? Shop our full Storage & Organization collection for airtight containers, risers, turntables, and labeling tools built for exactly this kind of pantry reset.
